In 1981, Moog Music manufactured the Realistic Concertmate MG-1, an analog synthesizer. It was sold by Radio Shack under their "Realistic" brand name from 1982 to 1983.
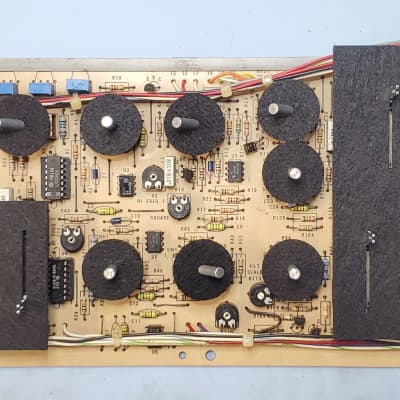
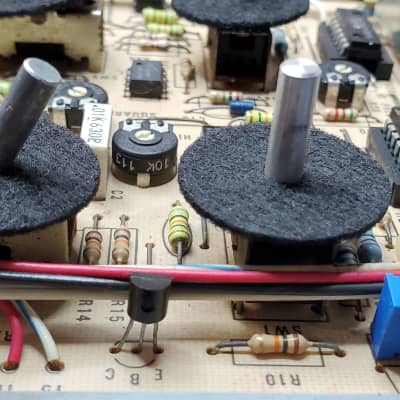
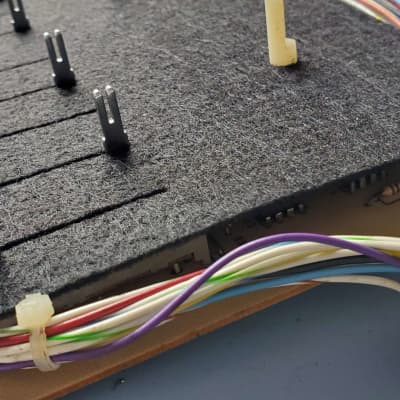
As these synthesizers are now 40 years old, it is expected that they may need some repair/maintenance and possibly a replacement (a "recap") of the electrolytic capacitors. What we've definitely experienced, however, is that every single one of these units has a major issue: the black foam that was applied by the factory beneath the front control panel is completely deteriorated and has made a huge sticky mess inside the synth!
This foam material was was added as a protection measure against dust/debris (some call them gaskets). Unfortunately, this unique foam not only dry-rots, it also turns into a sticky goo on the board and in the switches and faders/sliders! This debris has been known to be an issue for these parts, sometimes rendering them damaged. Technicians should carefully remove the sticky black goo with Q-tips and isopropyl alcohol, and fully clean the PC board of any residue. There will be lots of this sticky material on the top surfaces of the switch housings, and this can be carefully brushed off with a brass bristle brush (or a razor edge), followed by alcohol+Q-tips/cloth. Switches and faders must be fully cleaned with DeOxit, and some switches may be falling apart and need replacement. For full restorations, it is not a bad idea to replace all 15 faders/sliders right now so the client does not require another repair bill later. Even if you are able to clean the old ones, the smooth action on new ones is worth having over the crusty factory originals, and every client thoroughly enjoys that!
If you are a technician who wishes to make a professional impression upon your client, or if you want to make sure your work lasts through time, then installing our kit is mandatory! It is absolutely pointless to repair/restore the MG-1 without installing these new and improved dust protectors/gaskets!
The material we use is NOT the same factory-made foam that will self-destruct years down the line, nor is it a standard wool felt that can peel, fray, and deteriorate, contaminating your switches and faders/sliders! We use a special synthetic felt that is made in the USA from 100% recyclable plastic bottles. This material keeps its shape and lasts a LONG time. Not only is this material made in the USA, it's also laser-cut in-house in our shop here in Texas, USA! We specialize in vintage electronics restoration and enjoy designing and manufacturing hard-to-find or unobtainable parts! We will soon offer this same kit for other legendary keyboards (Roland Juno 106 and others coming soon, contact us for requests)!
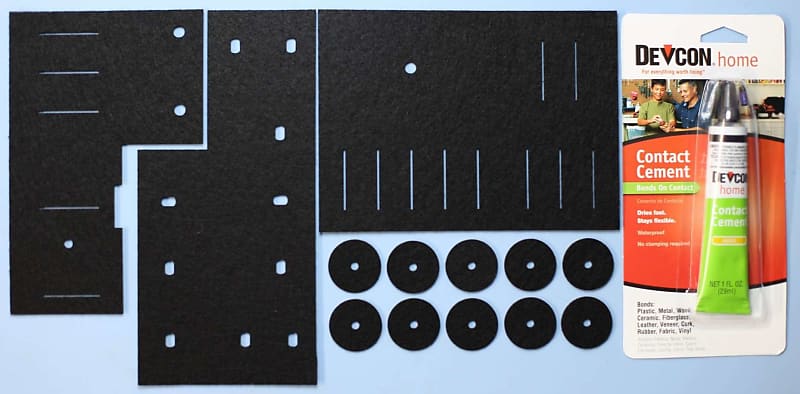
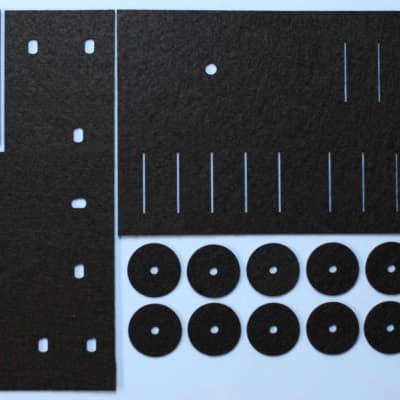
What's included:
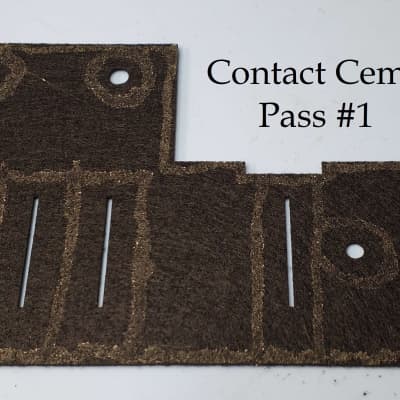
- 3 main fader/slider/potentiometer/switch felt sheets
- 10 switch felt washers
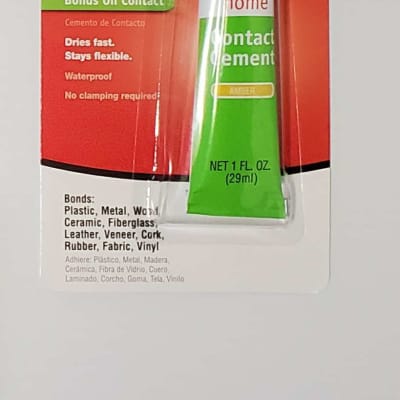
- Contact Cement (1oz)
Shipping:
Free Priority Mail - shipped from Texas, usually within 1 business day of receiving payment.
Instructions:
1) Disassemble MG-1 and separate top control panel PC board from the control panel.
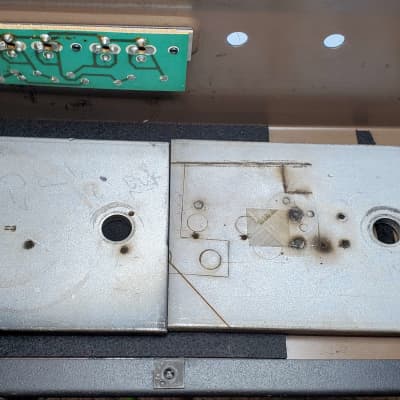
2) Clean the rear surface of the control panel with isopropyl alcohol and cloth.
3) Remove and clean black foam residue from the switches, faders/sliders, and PC board. Use compressed air and a brush where needed, but be careful about being too rough with the faders/sliders - these are aged, and the contacts inside can shift around when you use too much air pressure. We personally like to replace these all. Blast compressed air through the potentiometer openings while turning the shafts to make sure any loose black foam debris will be excavated. This is a great time to clean those pots and also the switches with DeOxit. Clean the shafts of the pots and switches with isopropyl+Q-tips.
4) Place the 10 round felt washers onto the 10 switches. These will sit snugly around their shafts. Do NOT glue these to the rear of the control panel. These need to move WITH the switch shafts!
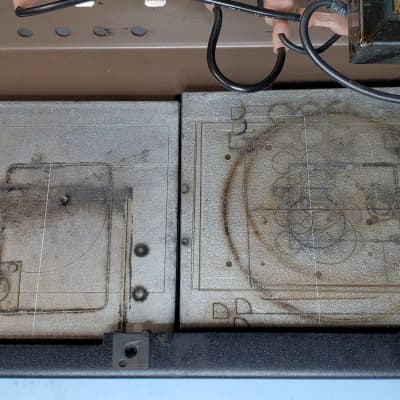
5) Test-align the two felt sheets for the faders/sliders and potentiometers. You will be applying contact cement to these sheets and adhering them directly to the rear surface of the control panel. You can view the front of the control panel while holding the felt sheets up to the rear of the panel, observing the centering of the fader/slider path slots and the potentiometer holes. If you desire, you can make some small index marks at the corners of where the felt lines up best.
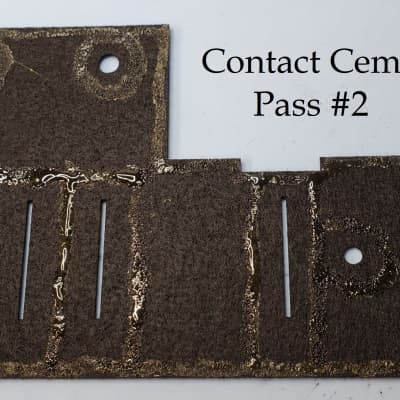
6) The contact cement will be applied in two layers on each felt sheet. Apply a small amount of contact cement in the pattern as shown in the pics provided to whichever sheet you choose to do first. Make sure to not come too close to the slots and holes in the felt. Also, be sure you don't lift up and cross any of the fader/slider slots or you'll cause a messy string of cement to appear. Just follow the path of the lines as shown. Use the end of the contact cement tube nozzle to spread it as you apply, creating a thin layer. This first layer will partially absorb into the felt to help "grab" it and also give the next layer something to build upon. Once you're done with that first layer, you can immediately apply a second pass of contact cement. For this second layer, apply a small amount normally (not spreading it). You can immediately affix the felt to the panel - there's no need to wait for the contact cement to become tacky.
7) You can now affix the felt to the rear of the control panel. It's a good idea to view the front of the panel as you're setting the felt into place. You can also go by your index marks you made on the rear of the panel. Either way, get it very close before you make contact. You want the visible part of the felt to look clean from the front. You do have some time to shift the felt around a little bit if needed.
8) With the control panel facing downward, flat against your work surface, place some flat weights on the felt to help hold it in place as the contact cement dries. We like to use metal plates that cover a wide surface area equallly. The curing process could take a couple hours or more, but we like to let it sit overnight.
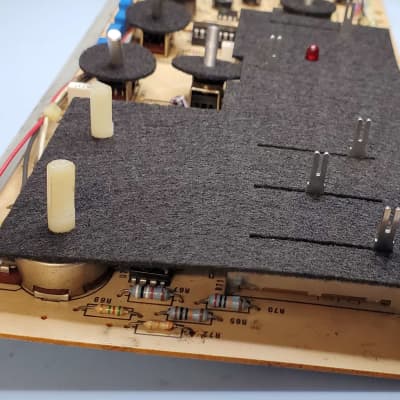
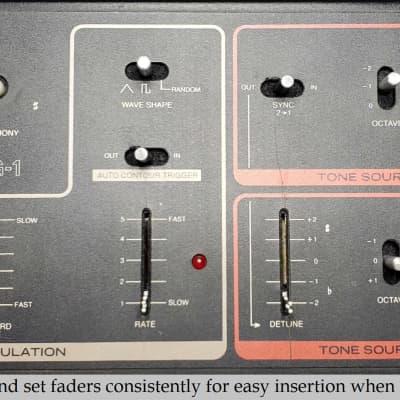
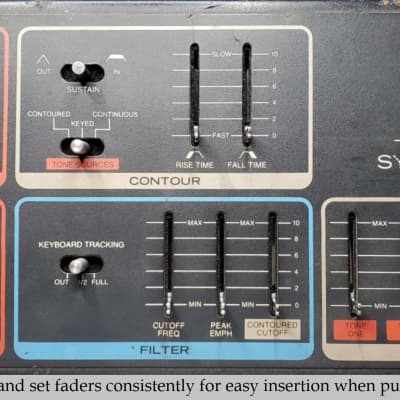
9) With the adhered felt sheets on the control panel, it's time to put the control panel PC board back together! Make sure to put the grey bracket rail that you took off earlier back onto the rear edge of the control panel PC board. Now, set all switches to the middle/vertical positions, even those which are only 2-way (seems tricky, but you can do it). Set them as vertically as possible as shown in the pictures provided.
We need them to be centered like this to allow for an easy alignment. Set all faders/sliders to a consistent level so they'll go into their slots more easily. Once you line the switch and fader/slider shafts with their holes and slots, the board will go back together perfectly!
10) Reassemble the MG-1.