You’ve spent years amassing a lovely collection of outboard mic preamps, EQs, compressors, and other odds and ends to fill out your rack. Each item was carefully selected by ear and has rightfully earned its place in your studio after weeks or months of trial by fire.
The stuff that didn’t cut it was sold off without prejudice. You even dumped a couple of over-hyped boutique compressors after finding out for yourself that your Warm Audio WA-2As do the same exact job while taking up less rack space.
Now, in the heat of a mixing session, you come up with the wild idea to re-amp the snare track to a guitar amp, dramatically change the envelope on the send with an SPL Transient Designer, and equalize the return with a surgical parametric to fit it into the track.
Should take all of 15 seconds to set up, right? Not without a patchbay.
Sans patchbay, you’ll be loosening your belt a notch or three to bend down behind your rack and fiddle with the wrong cables for forty seconds. Then you’ll come back to the front of the desk to find your tiny flashlight, pop that sucker in your mouth and get back behind the rack to locate the proper cables and connectors.
Go ahead. Disconnect 10% of your studio and reconnect it in a fashion that you’ll only ever use this one time for all of five minutes before deciding this was not a great mix decision in the first place. Turns out all you had to do was raise the level of the snare drum track 2dB in the chorus.
Back together everything goes. Sigh.
Twenty minutes of your working life have been tossed aside without so much as a kiss goodbye. The client has been watching you the entire time, his eyes darting around for the nearest window and deciding whether or not he can survive the two-story fall and limp to the studio down the block.
You, my friend, need a patchbay.
What Are Those Patchbay Things, Anyway?
The patchbay, patch field, jack field - whatever you want to call it - is the central nervous system of your studio’s signal flow.
Anything and everything that passes signal is (hopefully) connected to the patchbay. Using handy-dandy patch cables or the cableless magic that is “normaling,” you pipe the gazuotas of one device into the gazintas of another device to get your desired signal path in a matter of seconds.
Every real studio you’ve ever been in - and every real studio you’ve never been in - has a patchbay. A pretty big one, even. The patchbay will have all of the microphone lines tied directly to all the mic pre lines with the ability to route around as needed.
It will have every single input, output and insert point of the console at your beck and call. Hundreds or thousands of them. Maybe it’s got a big bank of mults to passively split signals or some L-pads to attenuate crazy-hot signals before hitting a touchy vintage piece that doesn’t love seeing a lot of level or doesn’t have an input gain control.
The point is simple: absolutely everything in a recording studio should be on a patchbay.
Your patchbay probably won’t need to be as monstrous as the one in Avatar Studio A, but your deservedly smaller patchbay should still exist and should follow the same sort of design philosophy as the ones in the big rooms.
“But...Do I Really Need One?!”
Yes. Cut it out. You need one. Unless all you’re doing is plugging two microphones into an audio interface and mixing entirely in-the-box, or you have no intention of ever buying a piece of outboard gear.
And if that’s your situation, I still encourage you to power through the rest of this article. Ultimately, it ain’t bad information to have in the ol’ internal hard drive between your ears.
You run an eight-channel Pro Tools rig with a few extra analog bits and an outboard reverb? Get a patchbay. You want to audition mic pres and processors in a flash? Get a patchbay. Summing out of the box with some choice EQs and a mix bus compressor? Get a patchbay.
The Wild World of Patchbay Species
Spend five minutes searching for your first patchbay, and you’ll immediately find out that there’s quite a lot to choose from.
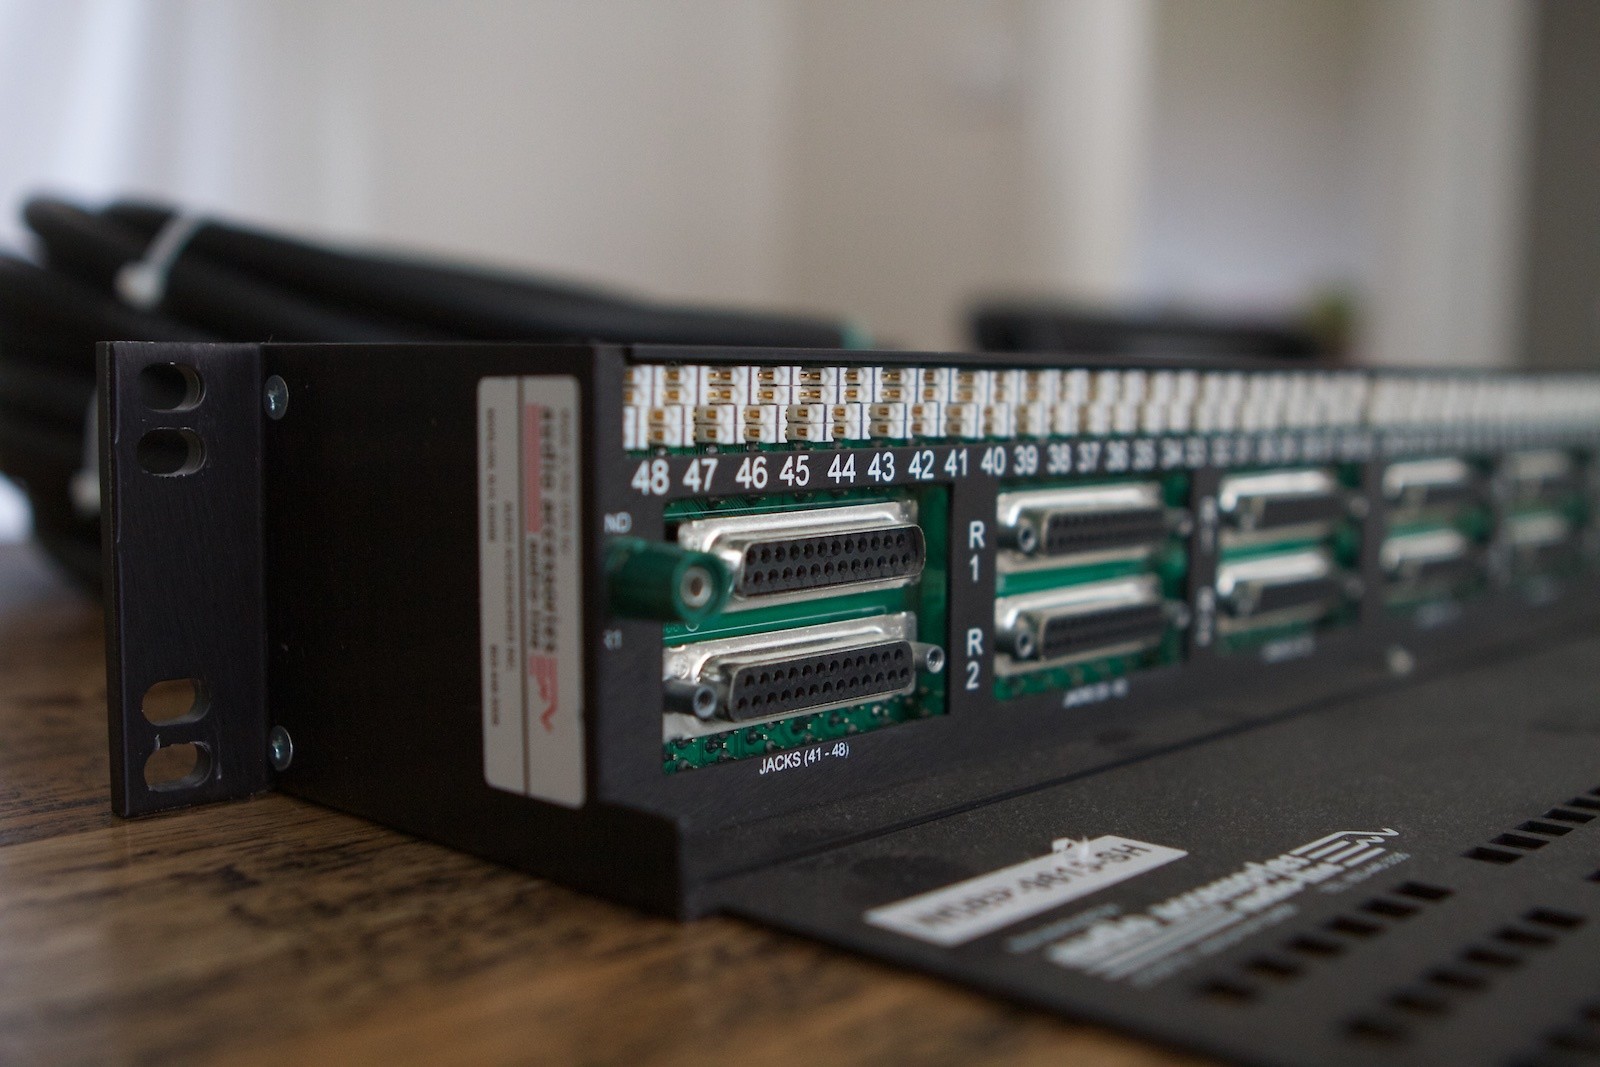
Some patchbays will have 48 ¼” TRS (balanced “tip-ring-sleeve”) jacks on the front, some will have smaller TT (“tiny telephone”) jacks allowing for twice the capacity per bay.
Some will have TRS jacks on the rear, some will have DB25s or ELCOs or some mysterious “other” multi-pin connectors on the rear, and some will be hardwired solder-type bays. Some patchbays have configurable normals and grounding. Lesser patchbays don’t.
If you’re patient and confident in your soldering skills, absolutely roll your own to save a boatload of money and have the utmost in flexibility. If 75% of your gear is on DB25 connectors - as is the case with a ton of contemporary multichannel gear - then surprise surprise, a DB25 bay with TT front is likely the path of least resistance.
If all you’re dealing with is a couple consumer-level outboard pieces in a small project studio, a TRS bay is probably all that you require. It will still allow you to easily interface new gear or “guest” equipment as needed if you’ve got some extra cables.
Planning and Measuring
Plan before you buy. Plan again before you build out. Plan once more during your build when you realize that your initial plan wasn’t all it could’ve been.
Take inventory of everything in your studio: every single available input and output on said gear, the types of connectors used, the would-be distance of Gear X and Gear Y and Gear Z to the would-be rear connection of the patchbay. Yes, pull out a tape measure and record your findings down to the inch.
The idea is to do this once (or, well...not frequently) with an eye toward having a very tidy wiring job. Having eight feet of unnecessary slack on half of the cabling connected to the patchbay will add weight-related stress to the rear connections. Not good.
If you’ve got a foot or two of slack, that’s plenty to be able to pull the patchbay out of the rack with everything connected and make changes or repairs as needed.
Budgeting for a Patchbay
A patchbay is a decidedly non-glamorous investment, but it’s an investment in efficiency, mental health and stability. Hell, it’s even a liability investment.
Do you really want your client leaping out the window because you’re sweating behind a rat’s nest of wires behind your rack? You’d probably somehow be on the hook for that.
"A patchbay is a decidedly non-glamorous investment, but it’s an investment in efficiency, mental health and stability."
These things are not free, and the good ones aren’t cheap. Similarly, cabling isn’t free and the good stuff definitely ain’t cheap. If I can generalize pretty heavily here (and I will), you can budget 20% of your overall studio value to the patchbays and necessary cabling, including patch cables to run this stuff around from point to point.
A $5,000 eight-channel setup with some outboard usually costs about $1,000 to properly wire. A $50,000 console with separate mic and line inputs, direct outputs, inserts, cue sends, mix returns and everything else will require multiple patchbays and about $10,000 to fully interface to the rest of your room.
Of course, there are going to be situations where it comes out to more money. There could also be the crazy oddball situation where it’s closer to only 10% of your studio value.
But I’m a betting man, and I bet 20% in this case more often than I don’t. Cut this number significantly if you’re doing your own soldering from raw materials, but be sure to allot a good amount of downtime while you’re doing the work.
Normaling and Signal Flow
Sure, the real power of the patchbay is in the ability to fly things around willy-nilly, an impressive maze of patch cables routing all of your signals this way and that. But you don’t want to have to use up 16 precious patch cables to do basic eight-channel input and output routing that almost never changes.
You probably want mic lines 1-8 to go straight to mic pre inputs 1-8. You probably want the outputs of those eight preamps to go straight to your interface’s line inputs.
Normaling will get you to a place where a large majority of your signal flow happens without touching a single patch cable. With proper configuration, you can plug in one microphone, arm the track in your DAW, and it’ll magically come through your speakers and headphones. It’s as if all of your gear is hardwired, even though it’s actually hitting this big intermediary junction whizbang.
Think about the face of your patchbay as being separated into top and bottom rows.
In a majority of cases, you’ll have outputs on the top row and inputs on the bottom. As with anything, there are exceptions to this. You could have certain banks of patchbay jacks oriented horizontally, or you could have outboard gear banks set up with inputs over outputs.
Generally, there’s three types of normals configurable on a patchbay:
Full-Normal: The most common form of normalling. Signal from the top output jack passes to the bottom input jack without a patch cable. Inserting a cable into the top output jack breaks the feed to the bottom. Most patchbays will come preconfigured like this across all vertical patch points.
Half-Normal: Signal from the top passes down to the bottom without patching, but this time a cable inserted into the top row does not break the feed to the bottom. A half-normal is only broken when a cable is inserted into the bottom row. Think of it as a free mult. It’s also especially useful for insert points on a console that does not have an insert bypass. Disconnect the bottom/input jack for bypass, reconnect it to engage.
Non-Normal: Top jack does not pass to the bottom unless you put a patch cable between them. Useful for outboard gear banks, sections of the bay where the top and bottom rows are not related, and anything with the potential for ugly feedback loops by having outputs automatically passing to input. Perhaps you’ve got horizontally-oriented pad/mult/polarity flip I/O just below that. Non-normalled configuration for those patch points are your friend here.
There are about as many schools of thought on what type of normalling to use in different situations as there are stars in the sky. So as with anything else in the studio, it’s best to experiment and see what works best in your particular situation.
A Brief Word on Grounding
Audio cabling carries ground reference, so your patchbay is also a junction for ground from all of your connected equipment. The patchbay handles grounding on a per-jack basis, and professional patchbays will give you a few options on how this is done.
Grounds Not Bussed: All patch points on the patchbay are isolated, and individual ground terminals are brought up on the rear of the patchbay.
Grounds Bussed: Grounds on all patch points are bussed together for common ground, with a rear-panel binding post.
Grounds Vertically Strapped: Vertical jack-pair grounds are bussed, horizontal jacks are fully isolated.
There are applications for all of these, and in some cases you might use multiple types of grounding configurations on a single patchbay.
If you’re unsure as to how all of this should be done, first try just connecting everything without changing anything on the grounding side of things. Contact a studio tech, studio electrician, or the manufacturer of the patchbay for guidance if issues arise.
Layout
The general practice for layout of your patchbay is to start with the beginning of your signal flow and work across or down from there.
For instance, you should probably have your microphone tie lines show up first on the top row of the bay with your mic pre inputs full- or half-normalled just below them. Then you just follow your typical signal flow -- preamp outputs to recorder/interface inputs would be next, interface outputs to the line inputs of your mixer or headphone system or outboard racks, so on and so forth.
It’s also common practice on larger, more extensive patchbays to have stereo bus/control room functions all the way to the right on the last four or eight patch points for each row.
So on a 96-point bay, you might have jacks 1-40 of each row as regular 8-channel banks, and then your master stereo outputs, stereo returns, cue, monitor controller I/O and other “control room section” stuff happens on the final eight jacks of each row in order of typical signal flow.
Labeling
The importance of clear, concise labeling of a patchbay cannot be stressed enough.
All commercially available patchbays will have their own templates online so you can label everything via a spreadsheet on your computer, print it up and pop it into your bay with everything perfectly lining up.
Color coding is your friend. Come up with your own scheme. Perhaps a system where all of your live room tie lines are one color, your mic inputs are another color. Interface I/O is one color, cue system inputs are another. Outboard bank #1 is one color, #2 is another. Different types of mixer I/O are different colors, on and on.
Your brain associates things with colors very quickly, and you’ll have a much easier time with this kind of setup than you would if every patch point simply had a white background.

Just above is an example of a very large, very complex patchbay from the mind of Steve Remote, founder and Chief Maniac in Charge at Aura Sonic, Ltd. in New York.
This patchbay comes from his hilariously flexible and impressive “Elroy” truck, a dual expanding-wall behemoth that could be recording a major live concert or festival on Monday, handling broadcast audio for a five-course golf tournament on Tuesday, and acting as a remote control room in the middle of nowhere Wednesday through Friday.
And this is just the analog side of the truck. The Elroy truck has a completely separate “digital universe” (his fantastic terminology) patchbay on the opposite wall.
Will you require something like that? Highly unlikely. There are sections on this patchbay that are only necessary in His Remoteness’ case. The purpose here is to show you what a wonderfully expansive patchbay with proper signal flow, labeling and color coding can (and probably should) look like.