With top-notch recording gear and software more accessible than ever, practically any space can become a recording studio. But, while advanced production software and high-quality equipment can help you achieve amazing results at home, there’s one critical factor that can still make or break your home studio: acoustics. Unless you do all of your music-making on a computer with headphones, acoustics are a huge factor in the quality of your home studio.
If your recordings are tainted by a harsh or ugly-sounding room to begin with, you’ll be facing an uphill battle to get them to sound good afterward. Even more is at stake when mixing and mastering—a bad-sounding listening environment can seriously hurt the sound of your tracks. While no plugin, pedal, or processor can change the laws of physics, there are a wealth of acoustical treatment products on the market from brands like GIK Acoustics, Auralex, and RealTraps designed to improve the sound of any room.
Pretty much any space can benefit from some type of acoustic treatment, but what kind you need (and how much) can vary greatly depending on your space and what you do. Unfortunately, there is a lot of misinformation about acoustic treatment, and many people don’t educate themselves on how to use it effectively. So before you start collecting egg cartons, stapling up carpet inside a closet, and gluing foam squares to every square inch of wall, read this guide for a primer on how to use acoustic treatment in your home studio. You’ll be glad you did.
What Do You Use Your Space For?
What you do in your home studio will determine the treatment methods you’ll need to use and the lengths you’ll need to go to in order to achieve the best results. For example, if all you do is record your own vocals, you might be able to get away with just a simple vocal shield to keep unwanted reflections out of your microphone. In most situations, however, it’s definitely worth investing a little time, money, and effort into creating a great-sounding room.

If you record soft acoustic instruments, you may want to go for a “dead” sound without much reflection to achieve a focused sound. If you’re a drummer, you may want a tight, dead sound or a bright and lively sound depending on the style of music you play. If you record instruments with a lot of low-end content, like bass guitar or piano, you’ll want minimize muddiness in the room. And if you usually record a whole band at once, you probably want to isolate each instrument as much as possible to avoid bleed in the other instruments’ microphones.
Mixing and mastering are critical-listening tasks, requiring carefully tuned acoustics for an accurate sound that will result in balanced mixes or masters. If what you’re hearing when you mix or master isn’t accurate, you’ll unconsciously compensate for it by adding or subtracting certain frequencies. Your songs may sound perfect in your room, but terrible anywhere else. If you mix or master in your home studio, you’ll want to achieve as flat a sound as possible.
Types of Treatment
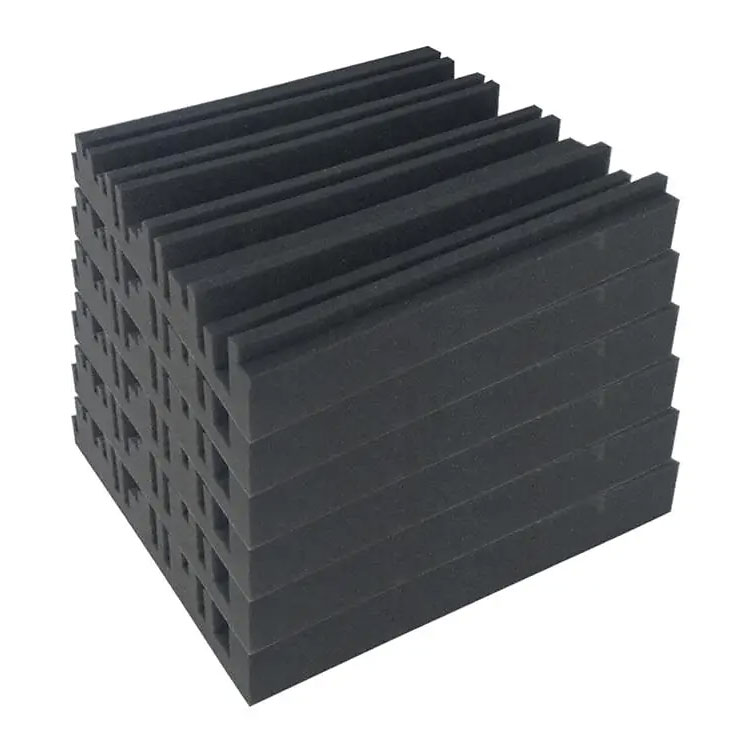
Absorption does exactly what it sounds like: absorbs sound waves to stop them from bouncing around. Any soft material, like foam or cloth, will absorb sound by trapping and dissipating acoustic energy—in fact, you probably already have some absorption in the form of couches, rugs, or wall hangings. Acoustic absorbers are widely available commercially, and prices directly correlate to effectiveness. Simple foam squares are a popular inexpensive option, but only attenuate high frequencies. Higher-end absorption panels are made of rigid fiberglass and can be effective at much lower frequencies, depending on their thickness.
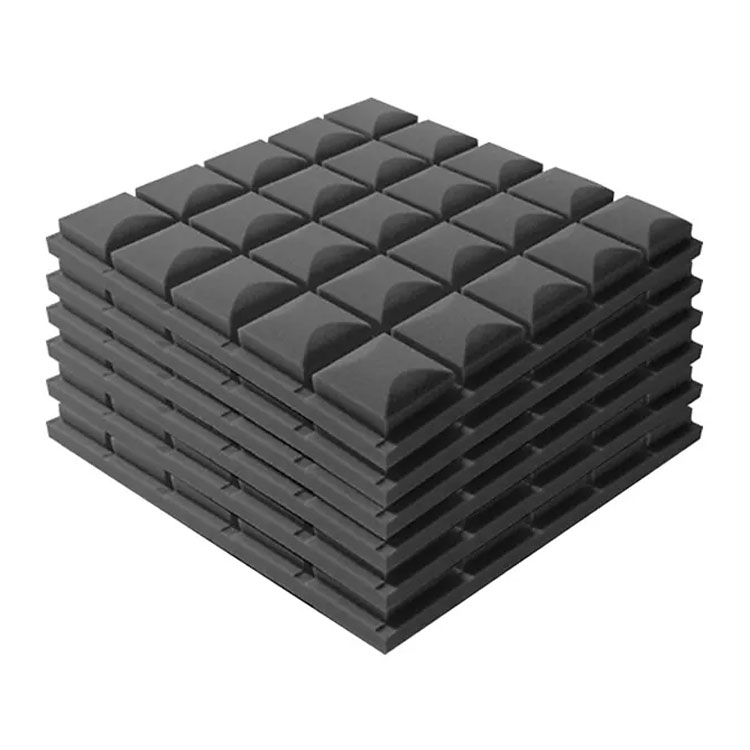
Diffusion is the opposite of absorption. Instead of stopping sound waves, diffusers scatter them in different directions, encouraging a more random reverberation. Diffusers can range from simple, uneven surfaces to mathematically precise contraptions. On the basic end, gently curved panels scatter sound in an even, radial pattern. More sophisticated products use mathematical algorithms to achieve maximum diffusion. One example is a Quadratic Residue Diffuser, which consists of “wells” of different depths targeted to specific frequencies. A skyline diffuser is a similar device made from square blocks arranged in a grid pattern that looks like a city skyline viewed from above.
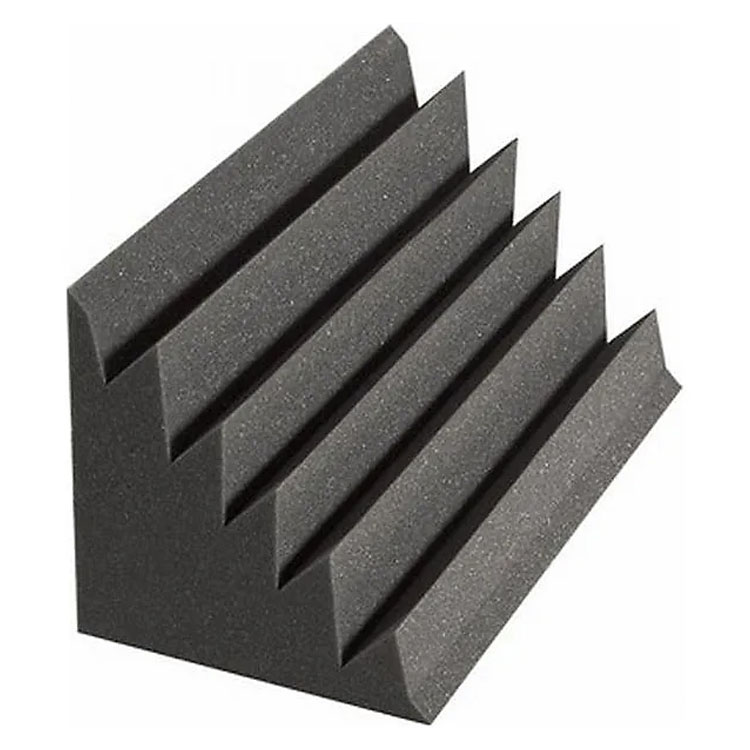
Bass traps reduce resonances in the lower end of the spectrum, and are often large and bulky because of the mass required to control low frequencies. Bass traps come in two main varieties: broadband and tuned. Broadband bass traps are simply thick absorbers that attenuate a wide range of frequencies (directly related to thickness). Tuned bass traps target one specific frequency by resonating at a certain pitch and converting acoustical energy into mechanical energy. They are usually cylindrical, with a column of air inside that determines their effective frequency.
Using Acoustic Treatment Effectively
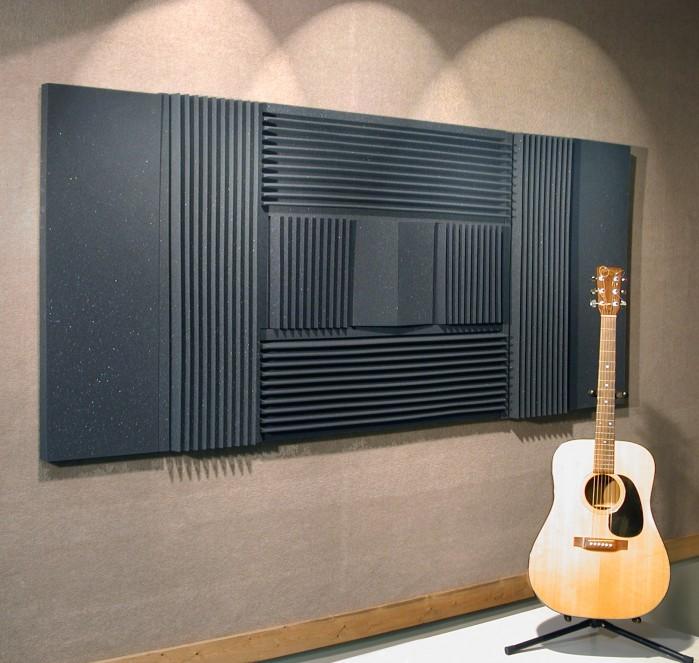
Treating a room isn’t quite as simple as hanging panels and placing bass traps wherever they fit. In general, a too-reverberant room will require absorption, a room with flutter echoes will benefit from diffusion, and a room with uneven bass response will need bass traps. But there’s more to it than that—to achieve the best possible sound in your home studio, you have to know how to use each type of treatment effectively to achieve the desired results.
Absorbers can be spaced out across walls for general sound-deadening, but they can also be used strategically to eliminate reflections in one particular spot. This is known as a “reflection-free zone,” (RFZ) and it’s commonly used in recording studios to create a clear-sounding “sweet spot” in front of the monitors. An easy way to create an RFZ is to sit in your monitoring position while someone runs a mirror along the walls, and place an absorber anywhere you see a speaker cone in the mirror. Some studios even hang a “cloud” above the monitoring position to control ceiling reflections.
If you like a lively sounding room for recording drums or other acoustic instruments, diffusion is your best friend. A few well-placed diffusers can help you achieve a more flattering reverb sound in a room, without deadening the sound at all. This is a great way to turn an ugly, boxy-sounding room into the perfect drum room for an energetic rock and pop sound. Diffusers are also useful when placed on the wall behind the monitoring position, to eliminate direct reflections from the speakers.
Pretty much any room can benefit from bass trapping, since every room has low-frequency anomalies that can result in a muddy, uneven sound. Since lower frequencies are much less directional than high frequencies, precise positioning isn’t critical for bass traps. Bass does tend to build up in corners, however, making them great, out-of-the way spots for bass traps. Broadband bass traps are a great, all-purpose solution for uneven-sounding rooms, but if your space sounds good overall you may just need one or two tuned traps to target problem areas.
Most rooms need a combination of absorption, diffusion, and bass trapping to sound their best. They key thing to remember is that every room is different, and every situation will call for a unique approach to acoustic treatment. If you know what your goals are, identify the specific problems in your room, and educate yourself on how to solve those problems with treatment, practically any room can sound amazing!